Showing posts with label Creations. Show all posts

2.08.2012

January


our happy girl!


Olivia LOVES having baths! I plop her in there several times a week and she is absolutely in her glory!


Playing dress-up!


Sisterly Love


We like to build tents!


In dreamland...


Playing in the snow...( just love her round face)....this winter has been surprisingly pleasant...it's been feeling more like spring, but we have had snow a few times


Princess!


This kept her occupied and happy while I prepared dinner...works for me!


She is getting so big!!!


This is a project I worked on during some "me" time....photo canvases. They were super easy and it was awesome to just set the time aside to do something I wanted to do ;)


Play-time with daddy!


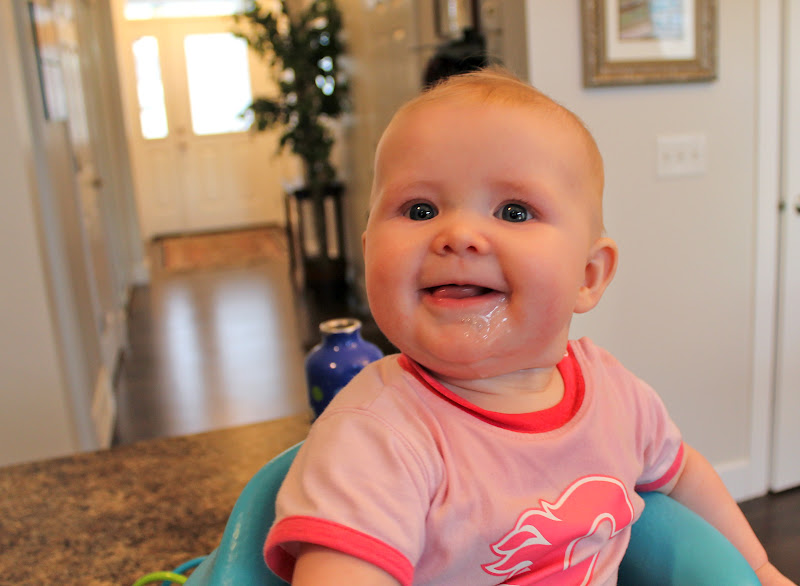
Can't get enough of her cute-ness!!! :). She is super slobbery, but no teeth yet.


Good morning Olivia!

5.11.2010

Flower Clip Holder

Remember when I said I wasn't creative? Well, after watching this video, I think much differently! Check it out...it will inspire you!

Yesterday I made this for Olivia. It was super easy...my kind of craft! Great company too! :)


Now, I can't wait to make more flowers to fill it!

2.08.2010

Flower Power!

A little while ago, I got together with Karli and we made flowers for our daughters! It was so much fun!! I had no idea how easy they were! As you can see, the flower on Olivia's head is SO BIG (it makes me laugh...haha) and, I did not put a brad in the middle....it looks so much better with brads (I think) as you can see on Edyn's flower. When I got home, I re-did Olivia's by putting a brad in the middle....as you've previously seen here.


Girls are so much fun!!

1.27.2010

Cake Balls


I initially was going to make cake pops but, I didn't have styrofoam to stand them in while they dry....so, cake pops - sticks = cake balls. I found the recipe on Bakerella:

Red Velvet Cake Balls

1 box red velvet cake mix (cook as directed on box for 13 X 9 cake)
1 can cream cheese frosting (16 oz.)
1 package chocolate bark (regular or white chocolate)

wax paper

1. After cake is cooked and cooled completely, crumble into large bowl.
2. Mix thoroughly with 1 can cream cheese frosting. (It may be easier to use fingers to mix together, but be warned it will get messy.)
3. Roll mixture into quarter size balls and lay on cookie sheet. (Should make 45-50. You can get even more if you use a mini ice cream scooper, but I like to hand roll them.)
4. Chill for several hours. (You can speed this up by putting in the freezer.)
5. Melt chocolate in microwave per directions on package.
6. Roll balls in chocolate and lay on wax paper until firm. (Use a spoon to dip and roll in chocolate and then tap off extra.)

I also only melt a few pieces of chocolate bark at a time because it starts to cool and thicken. It’s easier to work with when it’s hot.

Note: I used a chocolate cake mix, as I could not find the Red Velvet. Next time I think I'll try the pops and see how that goes!

These are so yummy!

1.16.2010

Alphabet Magnates


I made alphabet magnates (found here) for our niece's birthday gift. These took me FOREVER... but, I think they look pretty cute. I hope Vanessa likes them.

1.14.2010

Hanging Letter


I'm not a super crafty person, but I do enjoy making things...as long as they are easy! I admire people who can whip up cute gifts or crafts, food, etc. I have decided that this is an area that I really want to develop...I want to make things cute and appealing in every different aspect.

I came across a super cute idea on this blog. I hung it on Olivia's door.

I love it!